
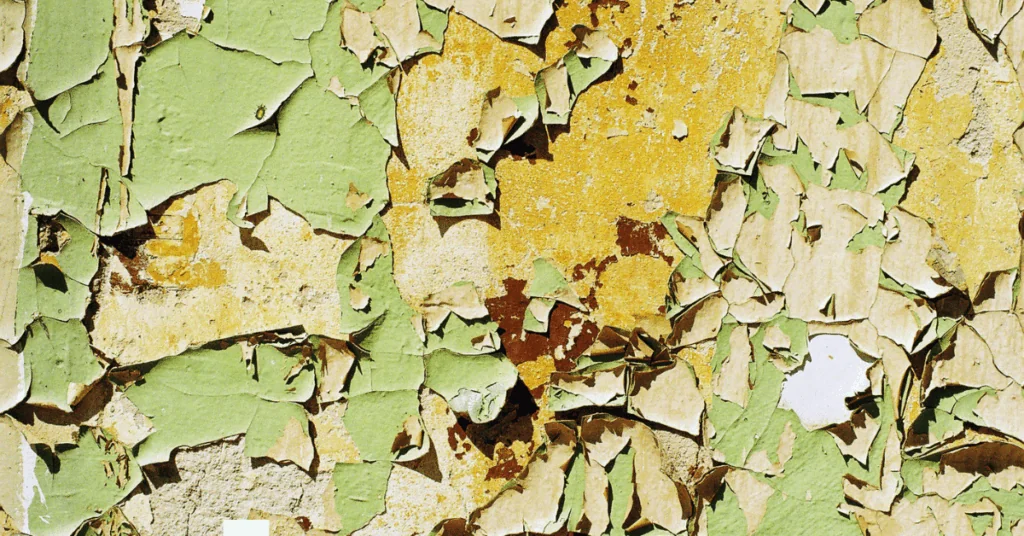
Proper surface preparation is essential before painting, as it ensures a smooth and durable finish. If you’re dealing with flaking paint on your exterior or interior walls, don’t worry! In this blog post, we will guide you through the steps to effectively remove flaking paint and achieve a pristine surface for your new paint job.
Step 1: Removing Flaking Paint
Before you begin, it’s crucial to remove any loose or flaking paint. This step is important to ensure proper adhesion of the new paint. Here are some techniques and tools you can use to remove flaking paint:
- Hand Scraping: Start by using a paint scraper or putty knife to gently scrape off loose paint from the surface. Be careful not to damage the underlying surface while scraping.
- Heat Gun: If the paint is stubborn, a heat gun can be used to soften it, making it easier to scrape off. Ensure you follow safety precautions while using a heat gun.
- Chemical Paint Strippers: Another option is to use chemical paint strippers. Follow the manufacturer’s instructions and apply the stripper to the flaking paint. After the recommended time, scrape off the softened paint using a putty knife.
Remember, always wear protective gear like gloves and a mask when working with paint removal products. Take precautions to protect the surrounding areas from paint chips.
Step 2: Sanding the Surface
After removing the flaking paint, the next step is to sand the surface. Sanding helps to create a smooth and even surface for the new paint to adhere to. Here’s what you need to know:
- Select the Right Sandpaper: Choose the appropriate grit sandpaper based on the condition of the surface. Coarse sandpaper (80-120 grit) is suitable for rough surfaces, while finer sandpaper (180-220 grit) works best for smoother surfaces.
- Sanding Blocks: To achieve better control and even sanding, use a sanding block along with the sandpaper. It helps to distribute pressure evenly and prevents gouging.
- Sanding Techniques: Sand along the grain of the wood or in a circular motion for other surfaces. Start with rough sandpaper to remove imperfections, and progressively switch to finer sandpaper for a smooth finish.
Step 3: Using Power Sanders (optional)
Using a power sander can speed up the sanding process, especially for larger areas. Here are some tips for using a power sander:
- Benefits of Power Sanders: Power sanders save time and effort compared to manual sanding. They provide consistent sanding and can reach difficult areas easily.
- Orbital Sander: An orbital sander is a popular choice for paint removal. Move it in a back-and-forth or circular motion, applying even pressure. Always wear a dust mask to protect yourself from airborne particles.
- Choose the Right Sanding Disk: Select an appropriate sanding disk based on the surface. Coarse or medium-grit disks are suitable for paint removal, while finer grits can be used for smoother finishes.
Properly preparing the surface is crucial for achieving a long-lasting and flawless paint job. By following these steps to remove flaking paint, you’ll ensure optimal adhesion and a smooth surface for your new paint. Remember to wear protective gear, take necessary precautions, and choose the right tools for the job. Now you’re ready to transform your walls with a fresh coat of paint!
Let the Pro at Elite Pro Painting Take Care of your painting job, Submit a quick form to get started


